
I made these for my friends baby shower.. aren't they cute?
Items Needed:
-cardstock paper (you should be able to fit 3-4 booties on one 12inchx12inch piece of scrapbook)
-glue gun
-scissors
-pencil
-embellishments (ribbon, lace, puffy paint, buttons etc)
1) Print and cut out the bootie template- I originally found the link here, but I enlarged mines and made 2 bottom sole pieces.
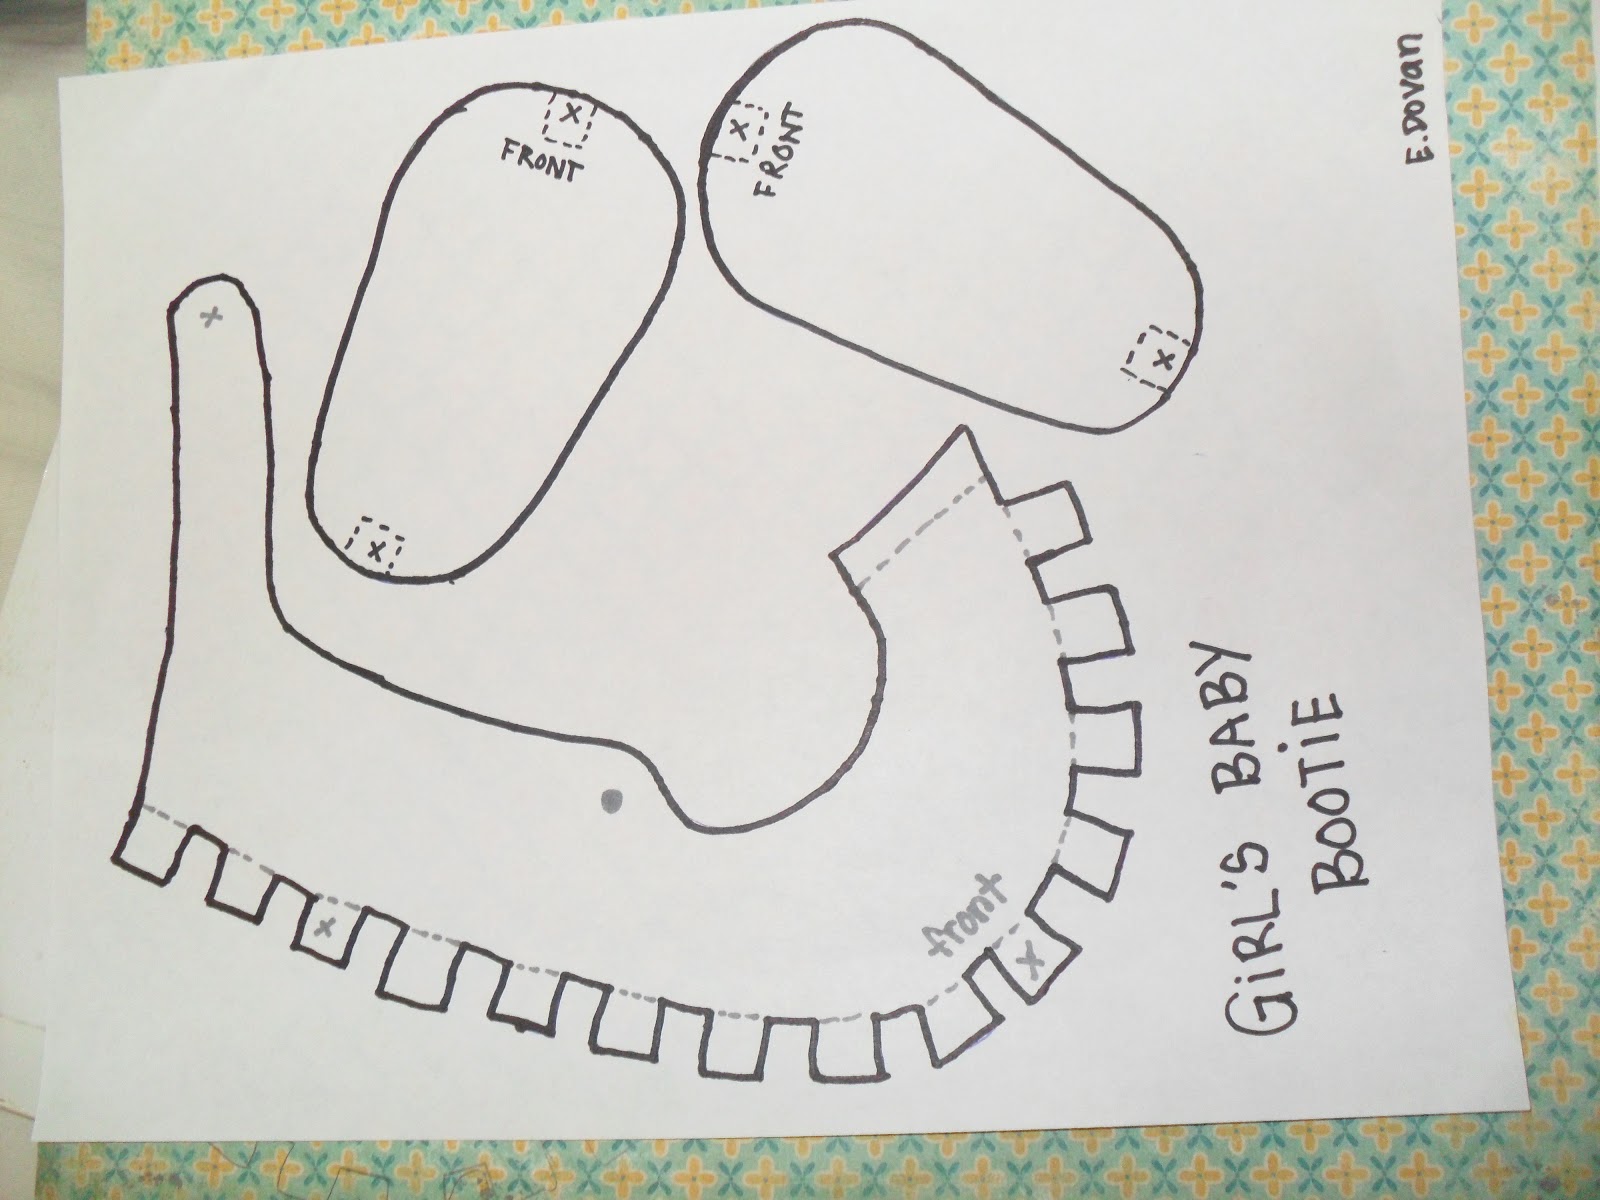 |
| this is my enlarged template |
2) Trace your template onto some cardstock and cut out
 |
| one bootie frame and 2 sole bottom pieces |
For the tutorial I just traced everything on one sheet but when I made the actual favors, I used a heavier card stock for the bottom sole. I had a bunch of small scrap pieces that I bought by the pound and just used that. It worked out perfectly because it was much sturdier and easier to glue the tabs onto.
3) Fold along the dotted lines and roll the bootie up. Glue the flap to hold the frame. It should start to resemble a baby bootie by now
 |
| glue side flap onto the back of the bootie |
4) Insert one of the bottom soles and start gluing tabs down one by one. **tip: glue the 3 front tabs and back tabs first**
 |
| gluing top front 3 tabs first- helps hold the sole in place while working on the rest of the bootie |
 |
| this is what it should look like when finished |
 | ||
| bottom piece |
 | |||
| Last step before decorating |
 | ||
| options are endless!! each one has its own uniqueness |
Thank you for visiting! I hope you found this helpful.
No comments:
Post a Comment